要为使用Konva的形状创建自定义命中空间函数,我们可以设置
drawHitFunc属性。 命中空间函数是Konva的内置函数
将使用在用于命中检测的区域。
使用自定义命中
函数可以有几个好处,如使命中区域更大
使得用户更容易与形状进行交互,从而形成一些部分
的图形可检测区域和其大小不一致,且简化命中绘制功能
以提高渲染性能。

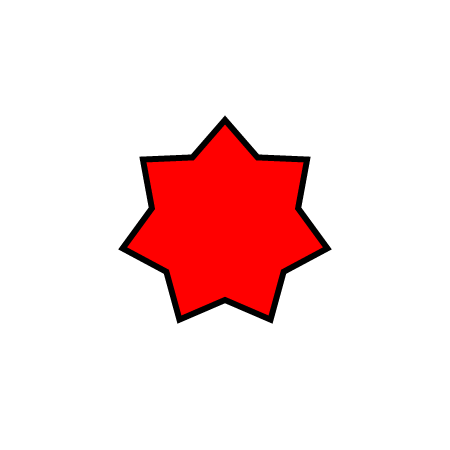
说明:鼠标经过,离开,按下和弹起在星图和
观察到击中区域,是包围该形状的更大尺寸的圆。
Konva Custom_Hit_Region Demo 点击查看
<!DOCTYPE html>
<html>
<head>
<script src="https://cdn.rawgit.com/konvajs/konva/1.4.0/konva.min.js"></script>
<meta charset="utf-8">
<title>Konva Custom Hit Function Demo</title>
<style>
body {
  margin: 0;
  padding: 0;
  overflow: hidden;
  background-color: #F0F0F0;
}
</style>
</head>
<body>
<div id="container"></div>
<script>
function writeMessage(message) {
  text.setText(message);
  layer.draw();
}
var stage = new Konva.Stage({
  container: 'container',
  width: 300,
  height: 300
});
var layer = new Konva.Layer();
var text = new Konva.Text({
  x: 10,
  y: 10,
  fontFamily: 'Calibri',
  fontSize: 24,
  text: '',
  fill: 'black'
});
var star = new Konva.Star({
  x: stage.getWidth() / 2,
  y: stage.getHeight() / 2,
  numPoints: 7,
  innerRadius: 50,
  outerRadius: 70,
  fill: 'red',
  stroke: 'black',
  strokeWidth: 4,
  hitFunc: function(context) {
    context.beginPath();
    context.arc(0, 0, this.getOuterRadius() + 10, 0, Math.PI * 2, true);
    context.closePath();
    context.fillStrokeShape(this);
  }
});
star.on('mouseover', function() {
  writeMessage('Mouseover star');
});
star.on('mouseout', function() {
  writeMessage('Mouseout star');
});
star.on('mousedown', function() {
  writeMessage('Mousedown star');
});
star.on('mouseup', function() {
  writeMessage('Mouseup star');
});
layer.add(star);
layer.add(text);
// add the layer to the stage
stage.add(layer);
</script>
</body>
</html>